The "Basic Website Kit" is an OpenWGA plugin which provides a base design for a range of websites with some common structure. You can use it to create websites without building your design "from scratch".
This tutorial will show you how to create a new application design based on the kit from OpenWGA developer studio and how to use a predefined kit theme for customization with it.
You need OpenWGA Developer Studio 1.5 or higher to perform the tasks of this tutorial.
Step 1: Install the basic website kit into your OpenWGA runtime project
The first step is to make the kit available to your runtime. We assume you already have created an OpenWGA runtime project in the studio. If not follow the instructions from the Getting Started Guide, step 1, to do so.
Open the runtime configuration editor by double-clicking the "runtime.xml" file in the root of your runtime project. First ensure that your runtime project uses an OpenWGA distribution of version 5.5 or higher. You can test this by changing to the "Configuration" tab here and see what is said in the field WGA Distribution:

If you see a lower version here you can click on the link "Configure distributions...", choose your distribution from the list and click "update deployment". Just download the latest WGA release, which is offered as option on the appearing dialog.
After you ensured the correct version go back to tab "Status" on the runtime configuration editor. There hit the Start button to start your runtime. When OpenWGA server is started the display of the "State:" field will change to "running".
Now open the OpenWGA admin client of the runtime. The easiest way to accomplish this is to right-click your runtime project in the "Package Explorer" view on the left, then choose "OpenWGA -> Open admin page" from the menu. After that the admin client will come up in a browser.
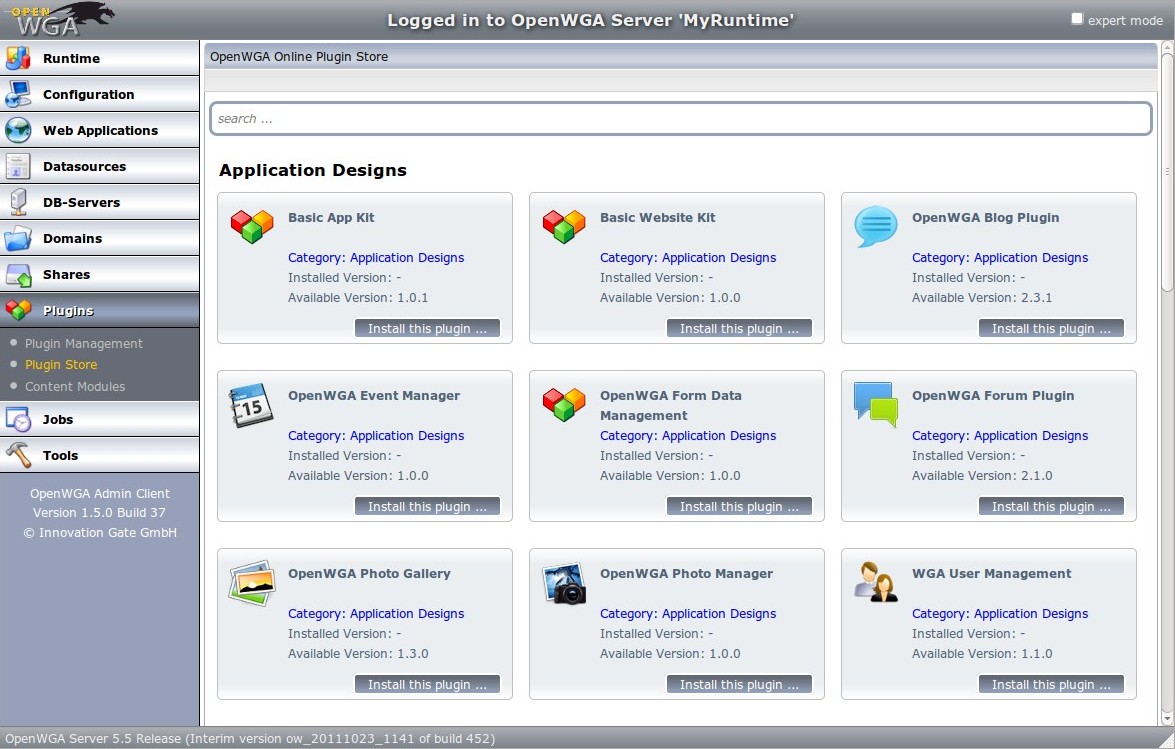
Here choose "Plugins -> Plugin Store" in the admin client menu. This, or something quite similar, is what you should see:
As you can see in the screenshot there is a plugin with name "Basic Website Kit" offered in the store. Just click the Install this plugin button on it. On the next screen mark the checkbox to accept the license of the kit, then again hit the Install this plugin button. After some seconds the plugin should be installed and we can continue to the next step.

